Ever since I realized that I could buy silk flowers at our Dollar Tree, that's pretty much all I've used to make my wreaths. Unfortunatly, I can't often find actual wreath forms worth buying there, but hey, I have plenty at home that I can just disassemble and redecorate. My thinking with using the $1 supplies that it doesn't matter as much if I mess things up and hate it. And the wreaths have been so much fun to work on lately. Maybe it's because we have THREE porches that I will eventually have decorated. Somehow. In the meantime, it's nice to be able to decorate a door without all the wind, rain, and ice getting to it, although we have had a bit of heavy winds of late.
Technically whats on the front door right now isn't really a wreath, but it is circular. Here's what a look-see:

I'd originally intended something a bit more, well, more. But after these flowers were on, I liked the way it looks this way, although it does seem to need something...maybe. I can't quite decide, so feel free to give me your opinion. I was thinking maybe it needed more red up around the unflowered part.
So, wanna see how I did it? It's so very easy, as long as you have a glue gun. And literally all the supplies came from our local Dollar Tree, where I love to go shop for unexpected treasures. (Also, with our budget, it's one of the few places I CAN go shopping for unexpected treasures...)
Here's what I started with:
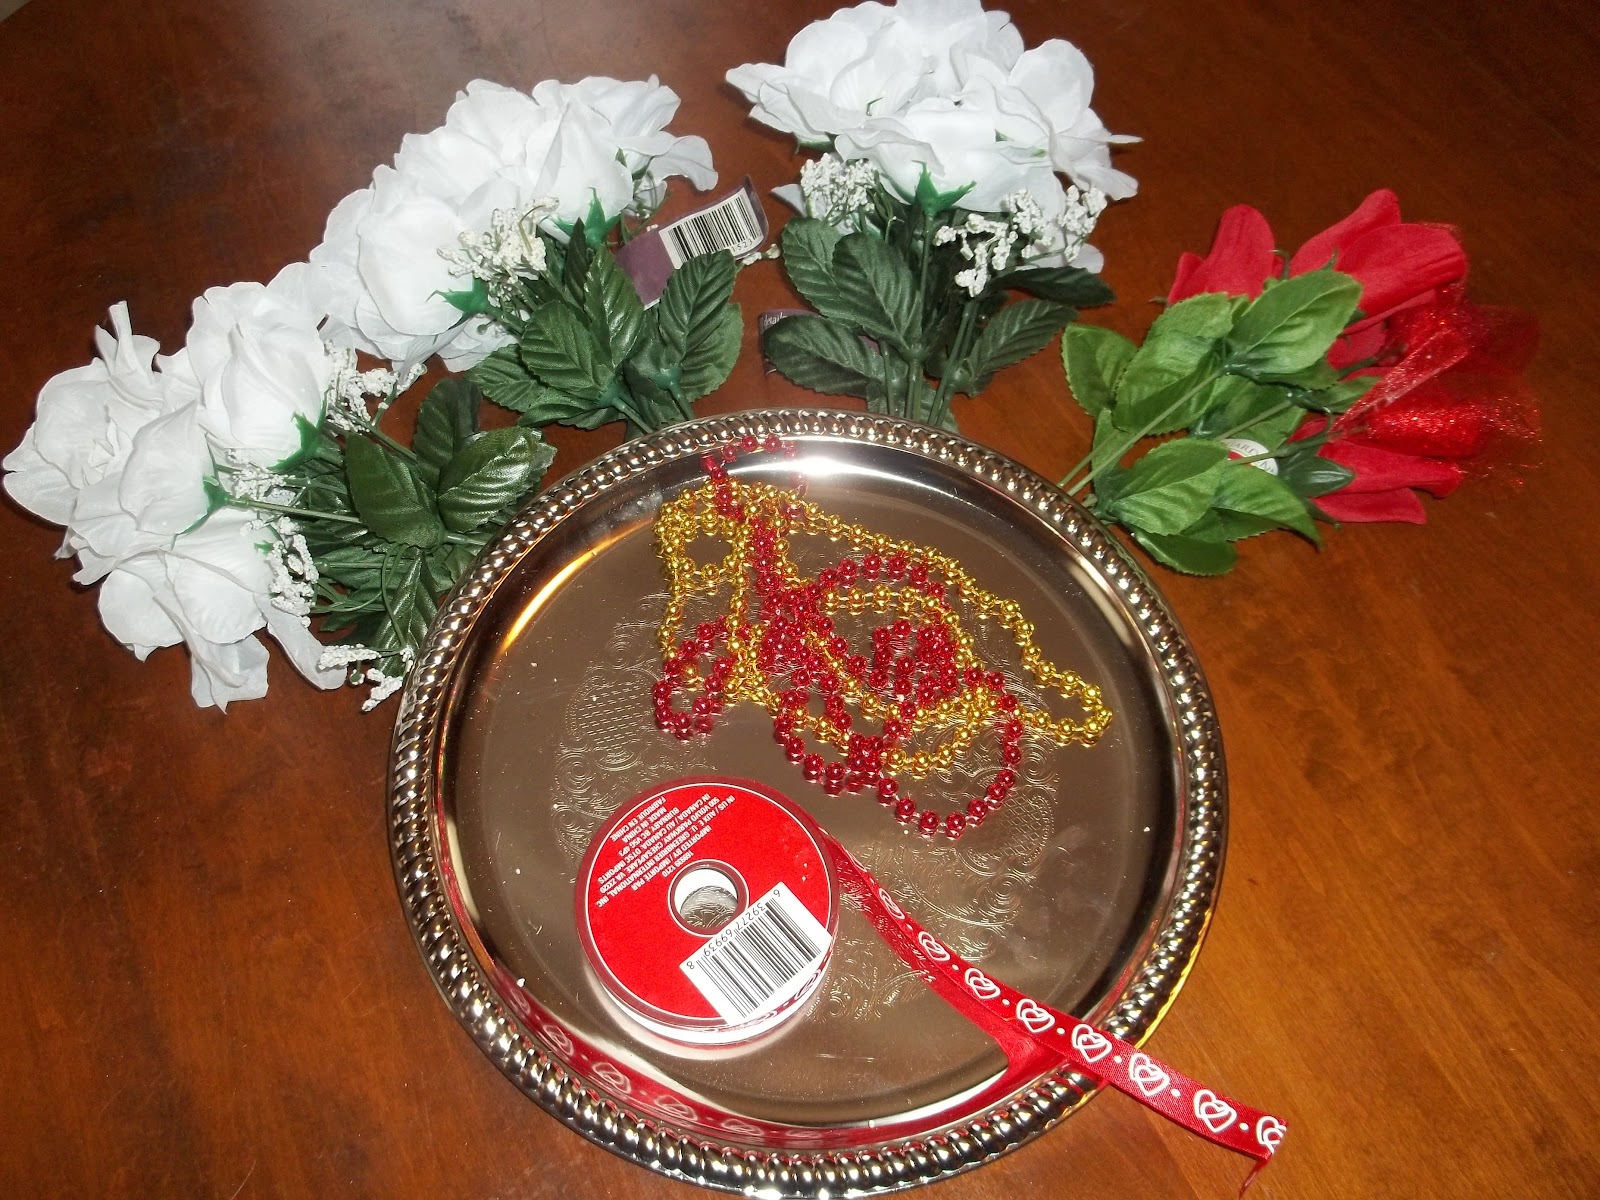
If you want to make one just like mine, you'll only need one of the white rose bushes and don't bother with the beads. The tray is from the housewares section and is about 11 inches across. Also, this tray is metal. Over near the paper party goods, they have a larger plastic one, but I liked both the metal AND the design etched in the center of the tray. I thought it added something to the finished design.
Not a great photo, but you can see some of the design here. It reminds me of a thistle or a bit of a pineapple motif.

Start by taking your flowers apart. Clip the stems as close to the bottom of the flower as you dare, but not so close it will cause it to fall apart. I was lucky with these in that they didn't come apart easily, so I could clip right up to the bottom.

Here's my finished pile of poseys. As you can see, I hadn't decided to only do the bottom part of the tray yet, so I clipped all of the flowers. *sigh* I'll have to try to figure out something else to do with them. Maybe a winter holiday wreath later in the year.
Next step is to figure out where you want your top and bottom. I like to put together something that makes the bottom obvious, especially since I was still thinking of covering the whole circumferance at this point. So, I started with a single white rose and framed it with the two red ones. Attach your flowers with a good bead of hot glue. After I had the bottom figured out, I just started adding the flowers evenly on either side. After I had the two per side on, I decided that it really looked quite nice just like that and stopped there.
At the top, on the back, I looped around some of the ribbon and hot glued it in place.

The ribbon hanging off the bottom was just a length that I cut and then looped around the middle white rose. I made it hang the way I wanted it to with a couple of smal beads of hot glue. As a final touch, I added one of the glittery hearts in the center. I figured it's for Valentine's Day, so some bling is good.
Let the hot glue set up and then hang. As you can see, mine is just hanging from a regular, over-the-door wreath holder.

There ya go! There's less than $5 in the finished project.
The wind certainly makes it rattle against the door when it's blowing hard. The important thing, though, is that it makes me smile when I come and go. Seriously, if you make one using this as your inspiration, let me know. I'd love to see it!
Oh, and I should probably show you the sorta inspiration piece that led to this. It's a skeleton wreath that a friend suggested on Pinterest. I did make a skeleton wreath for Halloween, also inspired by this pin, but I'll save that tutorial for the Fall.